You've seen all those fancy placemarks...now create your own using these simple directions!
Select a Template
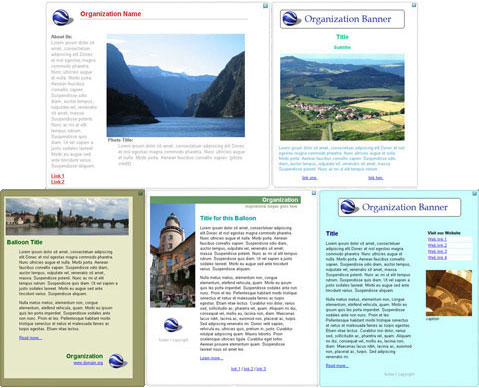
Below are some basic HTML templates inspired by KML from the "Featured Content" and "Global Awareness" layers.
- Click the links to the left of the image to see each example.
- When you find a template you like, click Download this template below the image.
- In Google Earth, open the KMZ file (compressed KML) that you downloaded.
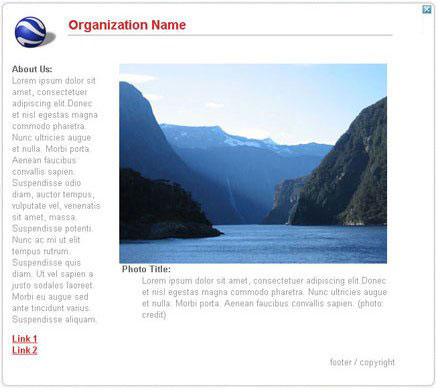
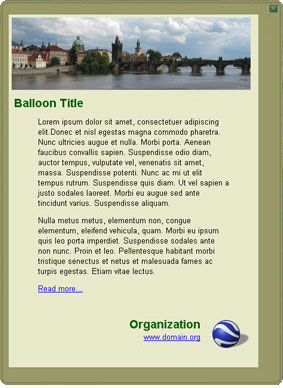
| Wide Photo | |
| Tall Photo | |
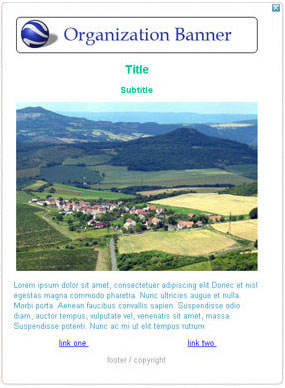
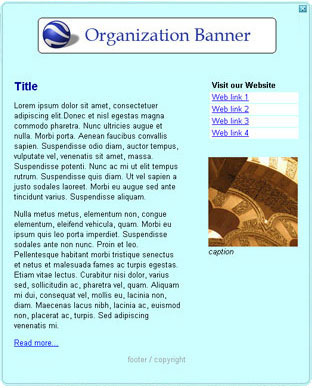
| Text & Photo Banner | |
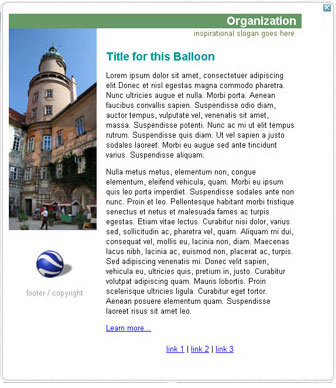
| Text & Tall Photo | |
| Text & Weblinks | |
| All Templates | |
Make a Copy of the Balloon Template
Click each of the two placemarks in your starter KML. The sample placemark contains sample text and images, and the template placemark contains placeholders for you to customize.
Before customizing the template, make a copy to work on, and maintain the original to use again:
- Under Temporary Places in the Places panel, right-click the template placemark.
- Select Copy from the context menu.
- Right-click My Places in the Places panel.
- Select Paste from the context menu.
A copy of template appears under My Places.
Customize Your Balloon
Add your own text and images to the placemark:
- Right-click the new template placemark, and select Properties from the context menu.
A highlight flashes on the placemark's icon on the map, and the Edit Placemark dialog appears. - In the name field, enter a new name for this placemark.
The Description tab contains the HTML for the placemark. In the comment section at the top, each placeholder appears (all caps in curly braces, such as {LOGO_URL}) followed by its description. Don't worry, this comment section won't appear in the actual balloon. - In the HTML section below the comments, find and replace each of the placeholders with your own text or links to images. Be sure to replace the entire placeholder, including the curly braces.
- Move the placemark to the desired location by dragging the highlighted icon on the map, or simply edit the Latitude and Longitude fields.
- Click OK.
Working with HTML:
- If you prefer to edit the template with an HTML editor, such as Dreamweaver or NVU (free and open source), copy the HTML from the Description tab to the editor, edit the placeholders as described in step 3 above, and then paste the edited HTML code back into the Description tab.
- Google Earth supports a subset of HTML. For information about supported HTML tags see the Text Rich Guide post on the Google Earth Community and the Placemark with Lengthy Sample Description in the KML 2.1 Reference.
Using Templates to Create Content in Google Earth (Video)
This video shows the steps from the previous two sections: Make a Copy of the Balloon Template and Customize Your Balloon.
Create More Custom Placemarks
Since parts of the description will be the same for all your placemarks (like the logo), to create another placemark, simply copy and paste your new custom placemark, and repeat the steps above.
Lost Your BalloonStyle?
These KML templates use BalloonStyle to remove the driving direction links (To Here - From Here) from the balloon and to specify the background color. Unfortunately, you cannot alter the BalloonStyle from within Google Earth. You must edit the KML directly.
If you create a new placemark, instead of copying the template described above, and paste in the required HTML, you'll lose the connection to the BalloonStyle. So be sure to use the template, or learn about editing BalloonStyle here.
Discussion / Feedback
Have questions about this tutorial? Want to give us some feedback? Visit the Google Earth Outreach Discussion Group to discuss it with others.
What's Next?
These templates will help you get started creating a few simple placemarks. If you're interested in learning how to manage lots of placemarks or to further customize the look of your placemark balloons, check out these tutorials:
Building Better Balloons
Have you seen some amazing content in Google Earth, but you're not sure where to start? Eye-catching description balloons are essential for the success of your organization's KMLs. You can jump-start your project with one of the starter templates below.
Before You Start
You must use Google Earth version 4.1 or newer for this tutorial. If you don't already have it installed, you can download it here.
Select a Template
Below are some basic HTML templates inspired by KML from the "Featured Content" and "Global Awareness" layers.
- Click the links to the left of the image to see each example.
- When you find a template you like, click Download this template below the image.
- In Google Earth, open the KMZ file (compressed KML) that you downloaded.
| Wide Photo |
|
| Tall Photo | |
| Text & Photo Banner | |
| Text & Tall Photo | |
| Text & Weblinks | |
| All Templates | |
Make a Copy of the Balloon Template
Click each of the two placemarks in your starter KML. The sample placemark contains sample text and images, and the template placemark contains placeholders for you to customize.
Before customizing the template, make a copy to work on, and maintain the original to use again:
- Under Temporary Places in the Places panel, right-click the template placemark.
- Select Copy from the context menu.
- Right-click My Places in the Places panel.
- Select Paste from the context menu.
A copy of template appears under My Places.
Customize Your Balloon
Add your own text and images to the placemark:
- Right-click the new template placemark, and select Properties from the context menu.
A highlight flashes on the placemark's icon on the map, and the Edit Placemark dialog appears. - In the name field, enter a new name for this placemark.
The Description tab contains the HTML for the placemark. In the comment section at the top, each placeholder appears (all caps in curly braces, such as {LOGO_URL}) followed by its description. Don't worry, this comment section won't appear in the actual balloon. - In the HTML section below the comments, find and replace each of the placeholders with your own text or links to images. Be sure to replace the entire placeholder, including the curly braces.
- Move the placemark to the desired location by dragging the highlighted icon on the map, or simply edit the Latitude and Longitude fields.
- Click OK.
Working with HTML:
- If you prefer to edit the template with an HTML editor, such as Dreamweaver or NVU (free and open source), copy the HTML from the Description tab to the editor, edit the placeholders as described in step 3 above, and then paste the edited HTML code back into the Description tab.
- Google Earth supports a subset of HTML. For information about supported HTML tags see the Text Rich Guide post on the Google Earth Community and the Placemark with Lengthy Sample Description in the KML 2.1 Reference.
Using Templates to Create Content in Google Earth (Video)
This video shows the steps from the previous two sections: Make a Copy of the Balloon Template and Customize Your Balloon.
Create More Custom Placemarks
Since parts of the description will be the same for all your placemarks (like the logo), to create another placemark, simply copy and paste your new custom placemark, and repeat the steps above.
Lost Your BalloonStyle?
These KML templates use BalloonStyle to remove the driving direction links (To Here - From Here) from the balloon and to specify the background color. Unfortunately, you cannot alter the BalloonStyle from within Google Earth. You must edit the KML directly.
If you create a new placemark, instead of copying the template described above, and paste in the required HTML, you'll lose the connection to the BalloonStyle. So be sure to use the template, or learn about editing BalloonStyle here.
Discussion / Feedback
Have questions about this tutorial? Want to give us some feedback? Visit the Google Earth Outreach Discussion Group to discuss it with others.
What's Next?
These templates will help you get started creating a few simple placemarks. If you're interested in learning how to manage lots of placemarks or to further customize the look of your placemark balloons, check out these tutorials: